Este artigo também foi publicado em português e pode ser acessado aqui.
When we talk about using a sound system for movies, a 5.1 system (5 speakers: front left, front right, side left, side right, and center speaker + 1 bass unit) has the best performance when comparing factors such as cost and compatibility. Movies from DVDs, Blu-rays, Netflix, and other streaming services are available with 5.1 encoded audio.
In this post, I will discuss the rear/side speakers and the central speaker for my sound system. These speakers are based on an assembly kit that had the woods laser cut and comes with a two-way speaker kit from N.A.R.
Using a speaker assembly kit brings some advantages to those who like to make their speakers but do not have (or do not want to have) the ideal tools for the task or for those who want to build quickly but do not want to give up quality and customizations in the project. Therefore, I opted for the use of a kit called Mini-books, marketed by laserkit. This kit includes the speakers (3 x two-way kits from N.A.R), frequency dividers, and woods (MDF) cut by laser. In particular, the fact that the kit includes the woods - already cut and only needs glue for fixing - greatly speeds up the manufacturing process, leaving only the concern with the finish and the terminals used in these speakers.
Unfortunately, I do not have photos of the manufacturing process, so I will indicate some third-party videos that show the ease that the wood kit provides for assembly:
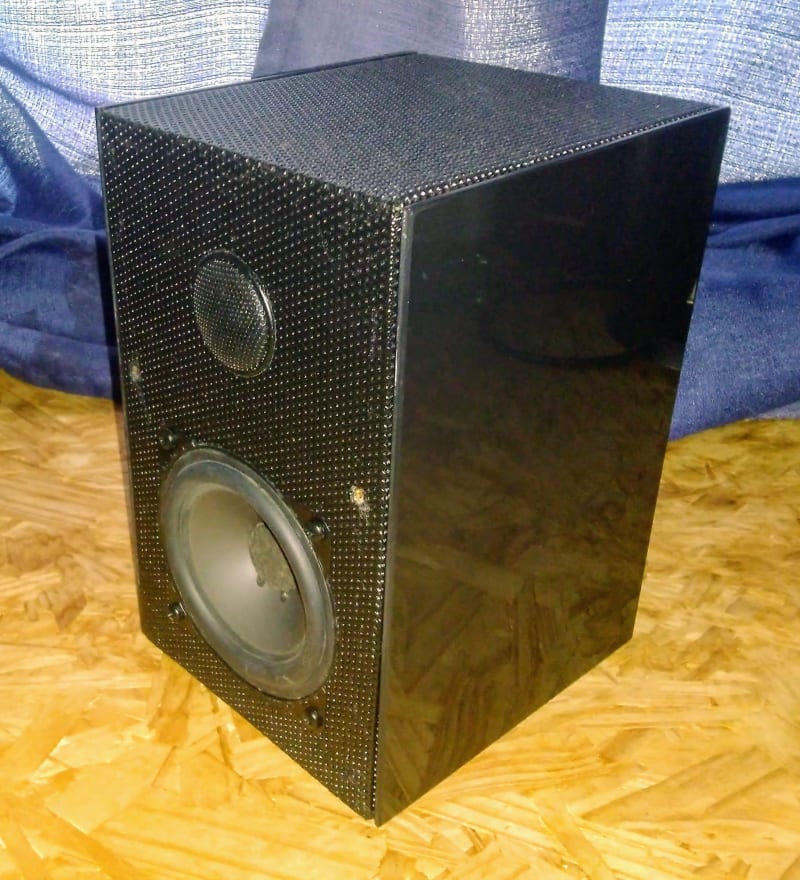
The finish of my boxes followed the idea already explored for the subwoofer: the use of “screen” type fabric that was glued on all dimensions of the boxes except on the sides. For the sides of the boxes, I used black piano-like finish and, for that, I used PS sheets (polystyrene, a material similar to acrylic) that were glued on the side: in addition to giving the desired finish, this sheet “hides” the sides of the screen fabric.
Here are some photos of the boxes:


In this view, it is possible to see the vent (yes, it is a vented box!) and also the terminals for fixing the wires. It is worth mentioning that the terminals are from Nakamichi and have a great cost-benefit ratio. (http://www.nakamichiplug.com/product-0520S.html)

Finally, here we have the front view with the screen already installed. The fabric was installed on an MDF wood base that fits the front of the box. On this base, a fabric called Helanca was installed (also sold as acoustic fabric, usually costing much more, haha).

As can be noted, in the case of the central speaker, the vent is located on the front of the box (and not on the back, as in the rear speakers).
Thus, the sound system gained three more speakers: two rear speakers and one central speaker. These speakers should be spatially allocated in the room to correctly reproduce 5.1 sound.
The auditions were quite satisfactory, far surpassing the performance of speakers of similar sizes. They also replace a large part of the speakers provided in commercial Home-Theater kits, presenting a good frequency response and robustness ![]()
With this post, all the speakers built by me (and that make up my sound system) have been presented. In the next posts, I will present the new amplifiers for the 5.1 system and, finally, the media center that manages the system connections and allows you to select the desired audio source.
See you!